Menu
TOPCRET – CLAY
Clay Application: From Natural Beauty to High-Performance Surfaces
Thinking of applying clay on your walls? Good choice. But we’re not talking about just any clay — we’re diving into Clay®, a revolutionary material that brings the earthy elegance of traditional plaster into the modern world. Easy to apply, incredibly strong, and even waterproof before sealing? Let’s walk through how it all works.

Why Choose Clay-Based Coatings?
Clay-based finishes aren’t just about looks. They’re breathable, non-toxic, VOC-free, and can regulate humidity naturally. They also age gracefully, making them ideal for homes, spas, hotels, and any space where comfort and sustainability matter.
Clay®: More Than Just Clay
Forget the limitations of fragile traditional plaster. Clay® is a next-gen coating engineered for modern needs. It offers:
- Waterproof performance before sealing (Hydro+)
- Zero VOC emissions
- Seamless finishes from wall to floor
Pre-mixed, installer-friendly formats
The Two Application Systems: Wall and Hydro+
Wall System for Interiors
Designed for breathable, elegant finishes in dry areas. It’s perfect for living rooms, bedrooms, offices, and hospitality spaces.
Hydro+ System for Wet Zones
Clay® Hydro+ is waterproof even before sealing — ideal for bathrooms, kitchens, spas, and wellness areas. It enables continuous design from floor to wall without breaking the aesthetic.
What You Need Before Starting
Tools and Materials Checklist
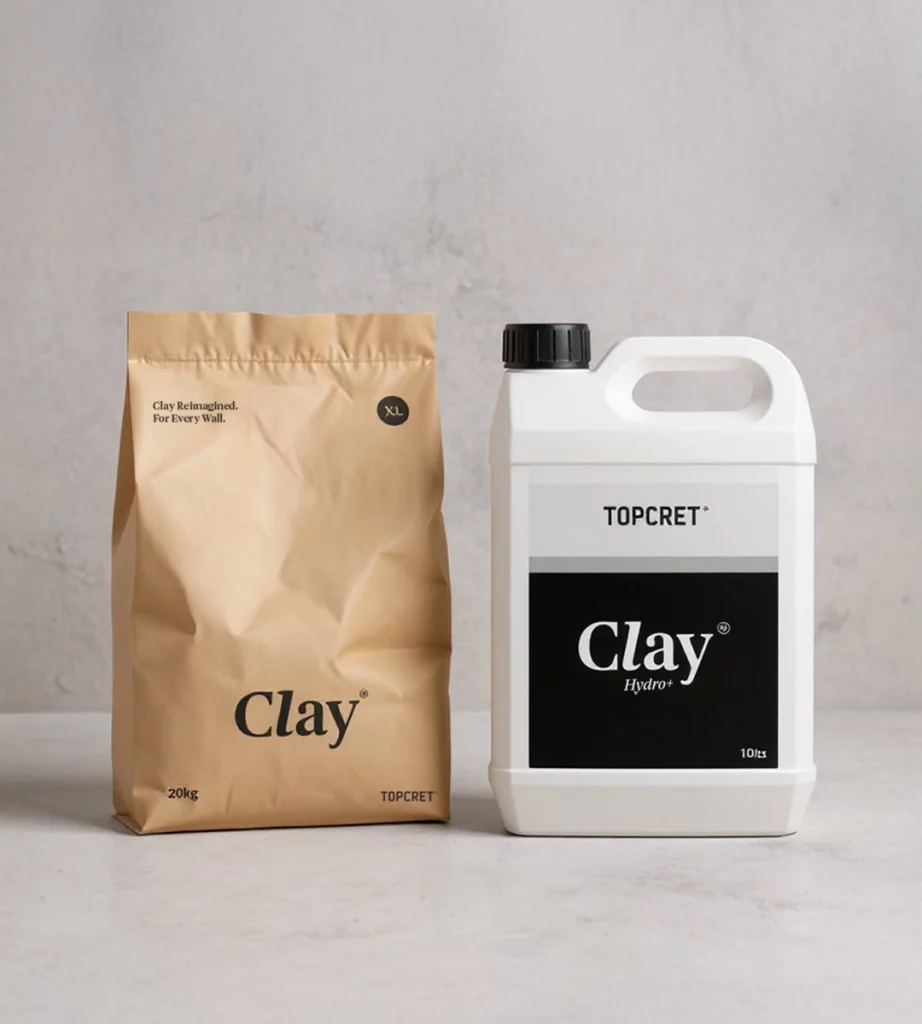
- Pre-mixed Clay® (Wall or Hydro+)
- Primer suitable for substrate
- Trowels (steel or plastic, depending on finish)
- Sanding sponges (fine/medium)
- Sprayers (for water or fixing agents)
- Masking tape and protective sheets
Substrate Preparation
Ensure your surface is:
- Stable and free of cracks
- Absorbent and dust-free
- Compatible (e.g., plasterboard, cement board, OSB, lime render)
Step-by-Step: Clay Application Process
Step 1: Surface Evaluation and Priming
Inspect the surface and apply a compatible primer. This enhances adhesion and evens out absorption.
Step 2: Base Coat Application
Apply the first coat using a steel trowel. For Hydro+, this base also includes waterproof components. Let it dry fully (usually 4–6 hours).
Step 3: Texture and Finish Coat
Apply a second layer to define the final texture (Smooth, M, L or XL). Use circular or linear motions depending on the desired finish.
Step 4: Drying Times and Final Sealing (Optional)
Let the material dry for 24 hours. Sealing is optional for Wall System but recommended in high-use areas. Hydro+ doesn’t require sealers to be waterproof.
Clay Application in Wet Areas
Waterproof Before Sealers: How It Works
Thanks to the Hydro+ system, Clay® becomes fully waterproof through its own mineral composition. This is a major innovation in the world of natural finishes.
Clay Application Techniques and Textures
Smooth Finish (S)
Minimalist and elegant. Ideal for contemporary interiors.
Medium Texture (M)
A balanced finish with subtle depth — perfect for living rooms and hallways.
Layered Texture (L)
Adds visual warmth and handcrafted charm.
Bold Rustic Texture (XL)
For dramatic, expressive walls. Great in feature areas or rustic-modern spaces.
Common Mistakes to Avoid
- Skipping primer: leads to poor adhesion.
- Applying too thick: risks cracking.
- Rushing drying times: causes blotching.
- Using incorrect tools: affects final texture.
🔧 Pro Tip: Always test on a small patch before large-scale application.
Clay Maintenance After Application
Clay® needs minimal care. Just:
- Dust or wipe with a damp cloth
- Avoid harsh chemicals
- Repair scratches with a quick touch-up coat
Thanks to its mineral composition, Clay® develops a natural patina over time, enhancing its aesthetic.
Final Thoughts: Reinventing Surfaces with Clay
Clay makes natural beauty easy — no compromises, no complexity. Whether you’re a designer, builder or homeowner, applying Clay® means embracing elegance, performance, and sustainability all at once.
From living rooms to luxury spas, Clay® transforms ordinary walls into visual experiences. And with its simplified application process and waterproof capabilities, it’s more versatile than ever.
📦 Ready to Apply Clay®?
Let us help you bring your design vision to life.
FAQs
1. How long does Clay® take to apply?
Typically, 2 days are needed — base one day, finish the next.
2. Do I need to seal it?
Not with Hydro+, but sealing is optional for added protection.
3. Can I DIY it?
For small projects, yes. But for best results, use certified installers.
4. Can Clay® go over tiles or paint?
Yes, with proper priming and surface preparation.
5. Is it suitable for exteriors?
Clay® is primarily for interiors, though some protected exterior walls may be suitable with expert advice.
Let’s
get in
touch
get in
touch
Let's get in touch
"*" indicates required fields