fbpx
Blog /
5 steps to apply BAXAB® on old tiles

5 steps to apply BAXAB® on old tiles

Find out how you can cover floors and walls with old tiles using the new Baxab® formula.

TOPCRET

8-9 minutes time reading

One way to bring life back to the environments of your home is to renew old tiles with microcement coating, this technique will allow you to redecorate without having to start work on your house.

The renovation of floors and walls is possible without carrying out works and generating debris with the application of microcement will allow you to cover old tiles and modernize your spaces. It is ideal for remodeling projects since it does not require removing existing floors or changing the profile of the floor, making it an environmentally sustainable product.

Baxab® is an alternative that offers continuous and uniform surfaces, without cuts or visible joints. It is high strength, durable and easy to clean. Suitable for indoor or outdoor floors and ideal for covering old tiles and achieving a more modern finish in all your environments. It is 3 times stronger than conventional microcements. In addition, it resists stains, scratches and burns like no other micro coating.

It is completely waterproof, so it can be applied in kitchens, bathrooms and any wet area. Available in a wide range of colors, without joints and with its handcrafted trowel finish, BAXAB® achieves surfaces of great quality and beauty.

Now we tell you how to apply it in 5 steps:

1- Prepare the surface

Before starting the microcement application project on walls or floors, their condition must be evaluated. It is not recommended to apply this technique on uneven surfaces or with imperfections.
For this, the joints must also be covered and before drying, do a hand sanding to eliminate the surplus. Otherwise, the result will mark the space of the joints and unwanted unevenness.
And finally, once the wall or floor to be covered has been repaired, the surfaces must be cleaned so that there is no dust or grease.

2- Print the tiles

Once we have a level and clean surface, the primer or adherent must be applied, which will serve to join the tiles and the microcement. This product must be spread evenly over the surface to be covered and avoid excess product.
It is recommended to apply several layers and leave up to six hours between each one to achieve better drying.

3- Place fiberglass mesh as support

To protect the coating and avoid future cracks and imperfections, the fiberglass mesh must be placed on the surface after allowing it to dry.

4- Lay the layers of microcement on tiles

After placing the fiberglass mesh, the layers of microcement can be placed. The recommendation is to apply up to 4 layers to ensure that the results are as desired.
The first layer It will serve as the base for the next one, it should not have irregularities and then be sanded to remove excess.
The second layer of microcement is the first to apply the pigment that will cover the tiles. Later we repeat the process and apply two layers of special microcement for floors or floors with pigment and finishes of your choice.
Seal the microcement
Finally, a sealer and varnish should be applied, preferably two coats of each to ensure the durability of the surface finish.

Other recommendations

Drying is the key to successfully completing this process and verifying that the surfaces where it is going to be applied are level, clean and that the joints have been correctly covered. Although it is a simple technique, it does not require works, it is recommended that it be carried out by professionals to achieve quality results and avoid irregularities in the floors or floors that you want to work on.

If you’d like to learn more about microcement over tiles, head over to our blog where you’ll find all the information you need.

You may also like

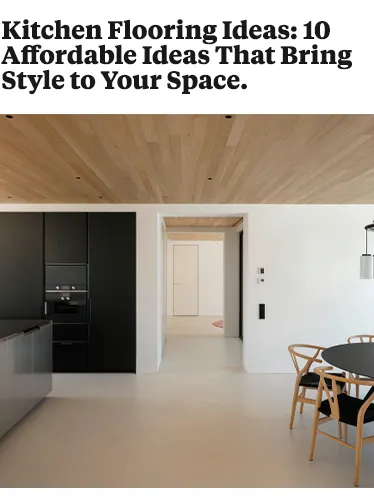
Kitchen Flooring Ideas: 10 Affordable Ideas That Bring Style to Your Space

Your kitchen’s flooring can be stylish without breaking the bank. Discover these budget-friendly options that offer both aesthetics and practicality. When it comes to kitchen …

Microcement Baths

Microcement, known for some years as the coating that offers the most possibilities for construction.

Steps to clad Microcement stairs

Find out what are the steps to cover stairs with microcement coating.